
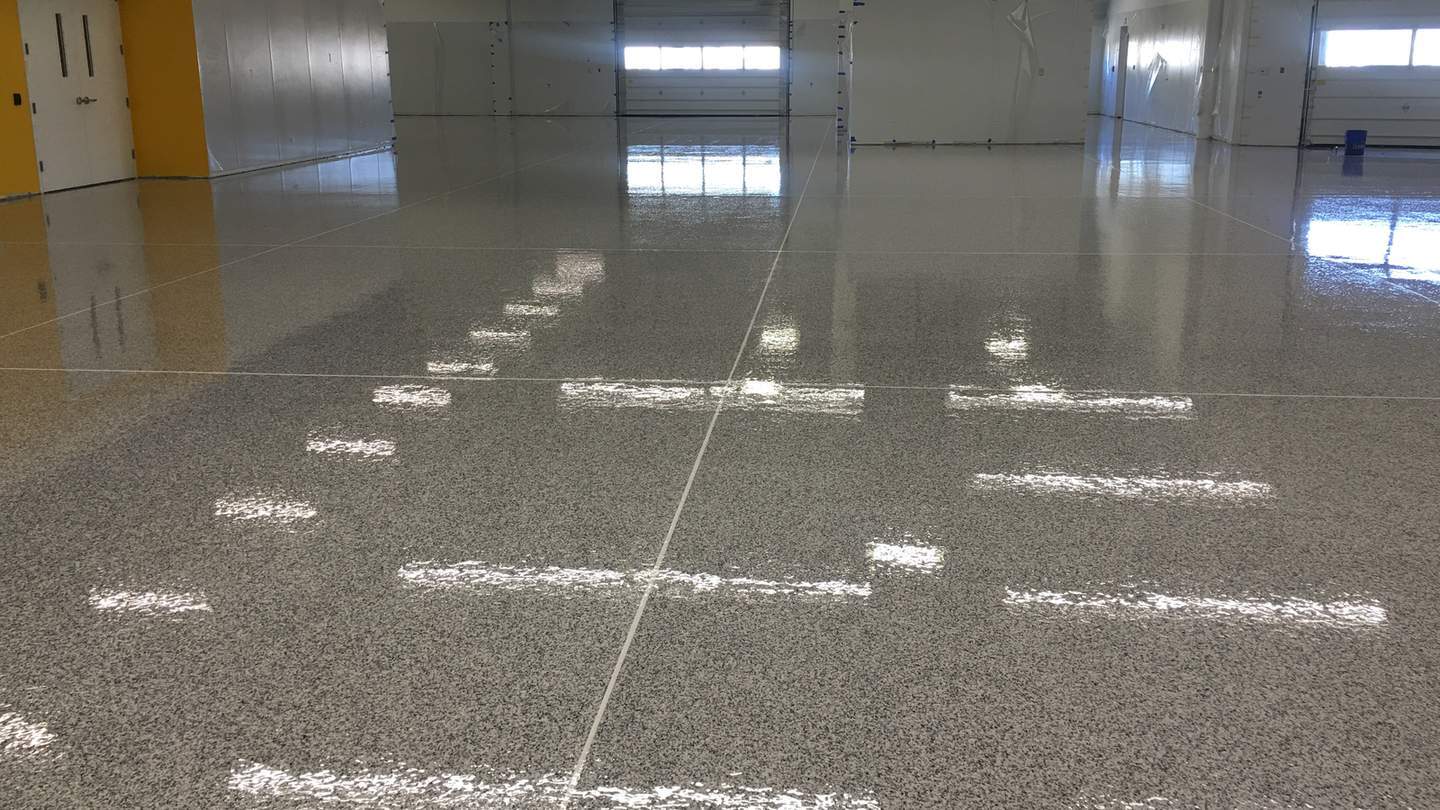
Flake floors look simple until they are not. The broadcast, timing, scraping and topcoat steps specifiers should require for a consistent flake finish.
A consistent broadcast flake finish depends on an even broadcast, thorough removal of excess flake and a topcoat applied at the system thickness.
For architects, owners and facility managers who choose decorative flake floors, the finished appearance is the most visible measure of the installation. Defects such as bare spots, sharp edges, uneven color, roller marks and early wear can be linked to a few controllable steps. This article covers how a broadcast flake floor is built, which installation steps decide the finish and what to require so the floor matches the approved sample.
What Is a Broadcast Flake Floor?
A broadcast flake floor is a resinous system in which colored flake is scattered into a wet body coat and then sealed under clear topcoat. A typical system includes a primer, a pigmented body coat that receives the flake, and one or more clear topcoats that lock the flake in place.
The resin may be epoxy, polyaspartic or a combination. The topcoat is selected for the abrasion, chemical and UV exposure of the space and provides the wearing surface.
Broadcast Methods: To Refusal or Random
Two broadcast methods are common, and the choice affects color, texture and material use.
Choose broadcast to refusal when:
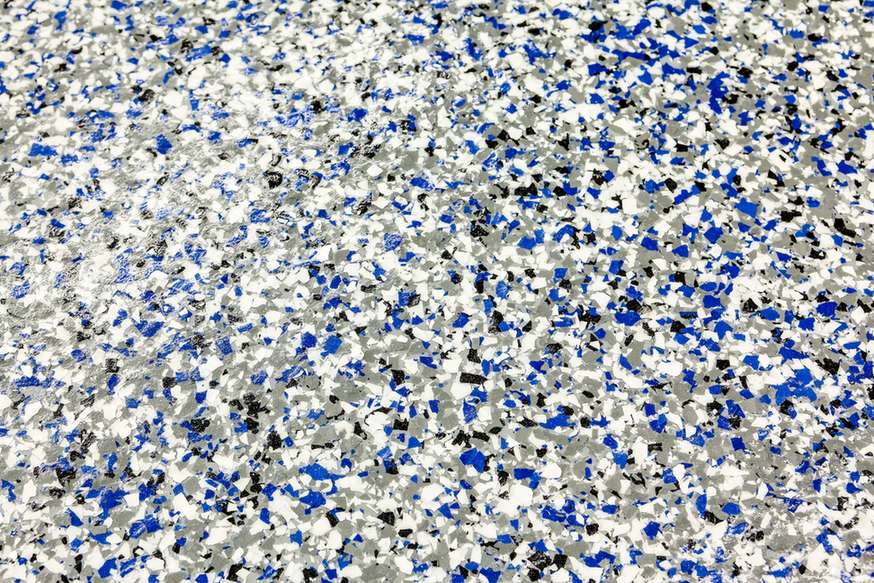
- Uniform Color Matters: Flake is broadcast until the wet resin accepts no more, giving the most uniform full-flake appearance.
- Base Color Should Not Show: The surface is fully covered, so variations in the body coat are hidden.
Choose random or partial broadcast when:
- Base Color Is Part of the Design: Flake is scattered at a lighter density, and the base color shows between flakes.
- A Lighter Look Is Wanted: Less flake is used, and the pattern reads as accents on a solid color.
The broadcast rate, flake size and blend, and the thickness of each coat come from the manufacturer's data sheet and system literature for the method specified. They are not interchangeable between systems, so the specification should name the method, not only the look.
Surface Preparation: Where the Finish Starts
Flake does not hide slab defects. Cracks, spalls, joints and grinder marks can telegraph through the finished floor.
Preparation to the manufacturer's required profile range (ICRI 310.2R CSP), crack and joint treatment, and a primer suited to the slab's moisture and porosity come first. Moisture testing by in-situ relative humidity (ASTM F2170) should be completed before priming.
Broadcast and Scraping: The Steps That Decide Appearance
1. Broadcast Timing and Technique
Flake is broadcast into the body coat while it is wet, within the window the data sheet allows. Experienced installers throw the flake upward and let it fall onto the surface rather than throwing it down at an angle, which helps it land flat and evenly.
Crews work in a sequence that keeps a wet edge so there are no lap lines where one section meets the next. Areas that wet through after the broadcast receive more flake.
2. Scraping and Removing Excess
After the body coat cures, loose flake is swept and vacuumed, and the surface is scraped or lightly sanded to knock down flakes standing on edge. Skipping or shortening this step leaves sharp edges and a rough texture.
It also forces the topcoat to bridge over raised flakes, which leads to thin spots and early wear. Swept-up flake should not be reused if it is contaminated with dust or debris.
Topcoat Application: Locking in the Flake
The clear topcoat encapsulates the flake. Applying it at the specified thickness, within the recoat window and with a consistent roller technique avoids thin areas over flake edges and visible roller marks.
Where slip resistance is needed, aggregate is added to the topcoat, and the texture should match the approved mockup. More than one topcoat may be specified for heavier traffic.
Specification Requirements: Defining the Finish Before Work Begins
A flake floor specification should address the following:
- Broadcast Method: Name the method, the flake blend and size, and the finish texture.
- Appearance Standard: Require a physical sample and an on-site mockup, prepared by the installing crew.
- Flake Lots: Order flake for each area from the same production lot, or blend lots before installation, to limit color variation.
- Topcoat: State the topcoat type and number of coats from the manufacturer's system, and the slip-resistant texture where needed.
- Pre-Topcoat Sign-Off: Require removal of loose and raised flake, followed by inspection and owner sign-off.
- Application Conditions: Specify the conditions from the data sheet and require daily logs of temperature, relative humidity and dew point.
- Joints: State whether joints are filled and covered, or honored and cut through after installation.
- Cove and Transitions: Require the flake pattern and topcoat to continue cleanly up the wall and at doorways.
QC and Acceptance: Judging a Decorative Floor
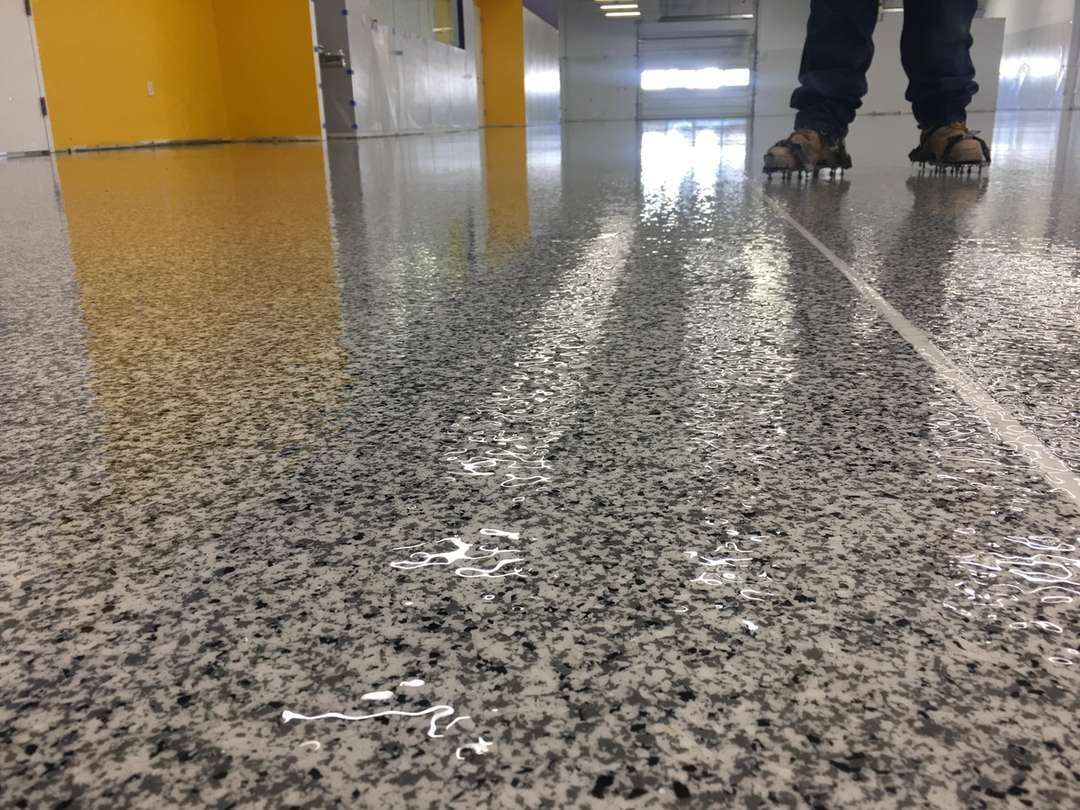
Acceptance is easier when the criteria are agreed before work begins. Viewing the floor from standing height under normal lighting and comparing it to the approved mockup is a common and reasonable standard for decorative finishes.
Inspectors should check the following:
- Flake Distribution: Uniform coverage with no bare or thin areas.
- Flake Edges: No raised or sharp flakes.
- Topcoat Appearance: Consistent sheen with no roller marks or lap lines.
- Edges: Clean lines at cove, walls and transitions.
- Texture: A match to the mockup in slip-resistant areas.
Return-to-service times for the topcoat vary with chemistry, temperature and humidity. The manufacturer's data sheet values for the project's products and conditions should be coordinated with the owner's schedule.
Tnemec Flake Options: Body Coats and Clear Finishes
Tnemec Company offers products for each layer of a broadcast flake floor:
- Tnemec Series N224 Deco-Fleck: A decorative flake-filled modified polyamine epoxy that can be used with flake broadcast at random or to refusal.
- Tnemec Series N284 Deco-Clear: A modified polyamine epoxy clear finish for decorative floors.
- Tnemec Series 256 ExcellaThane: A modified aliphatic polyaspartic that can serve as a clear or pigmented finish over flake systems.
Conclusion
A clean flake finish comes from controlled steps rather than special tricks. In our experience, most complaints about flake floors trace back to the broadcast, the scraping or the topcoat, so the specification should name the method, use a mockup as the appearance standard and require inspection before the topcoat.
A decorative floor is only as consistent as the steps that build it.
Field Verification Before Specifying
The following conditions are to be confirmed in the field with the applicable test before a system is finalized:
- Concrete moisture: in-situ relative humidity per ASTM F2170 and, where required, MVER per ASTM F1869.
- Surface profile after preparation compared to ICRI Guideline No. 310.2R CSP chips.
- Crack and joint locations and condition before priming.
- Ambient conditions during each coat: substrate and air temperature, relative humidity and dew point (ASTM E337 or calibrated electronic gauge).
- Bond on the mockup: pull-off adhesion per ASTM D7234 where the owner requires a measured value.
We are happy to help. Contact a High Performance Coating Consultant in your region to review your project conditions and specification.
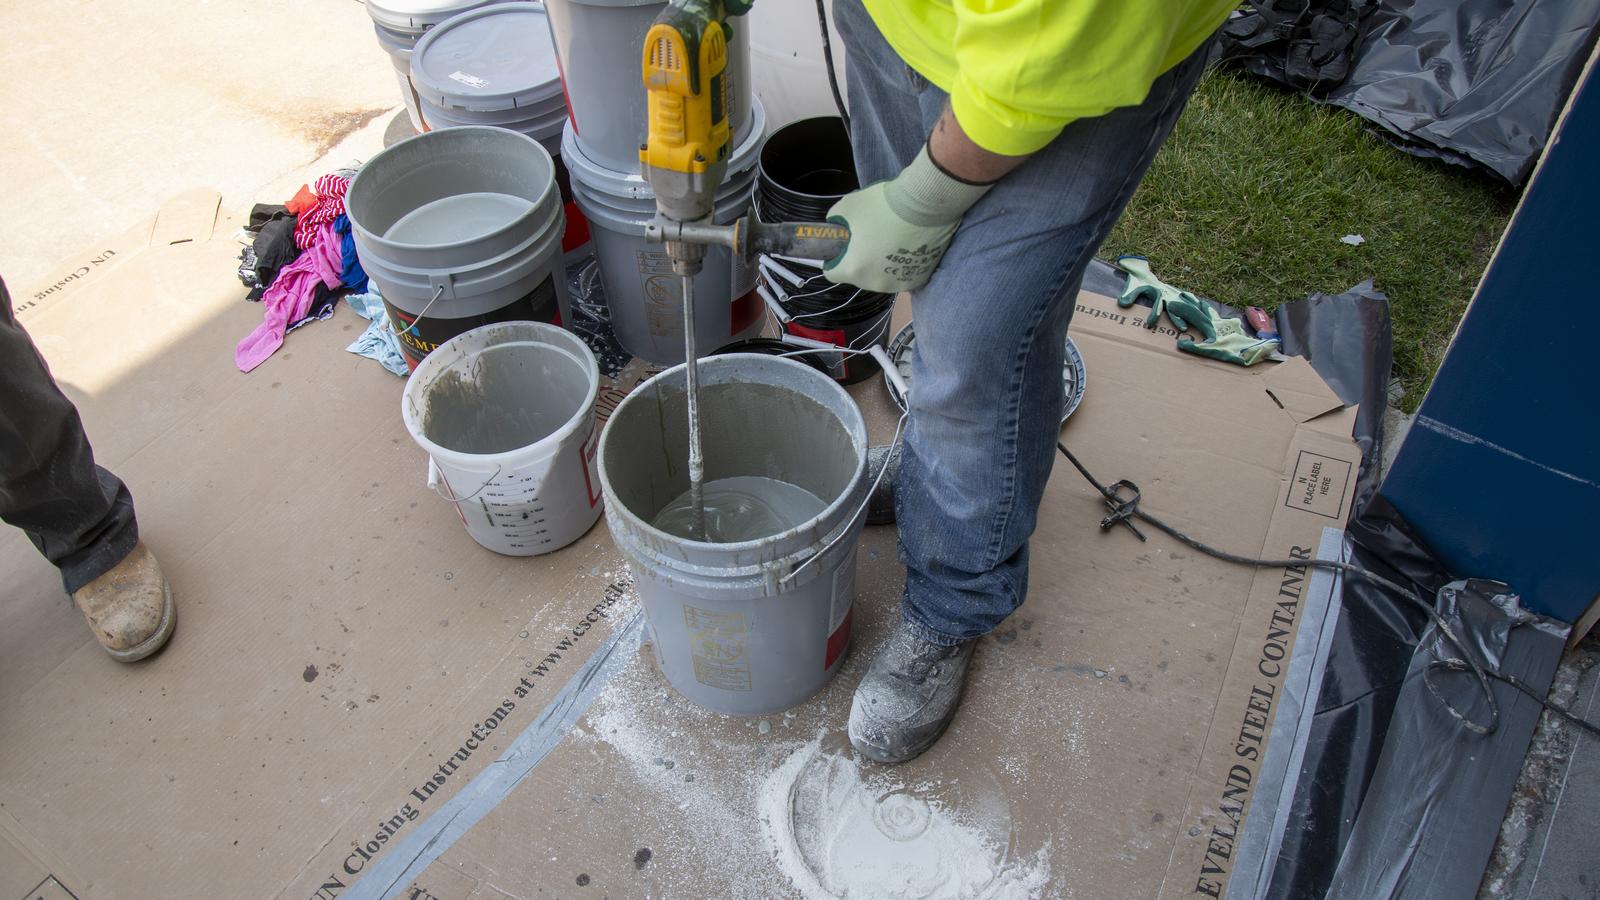
Urethane Cement Mixing Mistakes That Ruin Good...
Most urethane cement floor defects begin at the...
Repairing Existing Quarry Tile Floors with...
A failing quarry tile floor is not always a...
What Is SWAT Testing, & Why Is It Important?
Accelerated performance testing of coating and...