
Wrong mix times, partial kits and cold materials. The most common urethane cement mixing errors and what specifiers should require to keep them off the job.
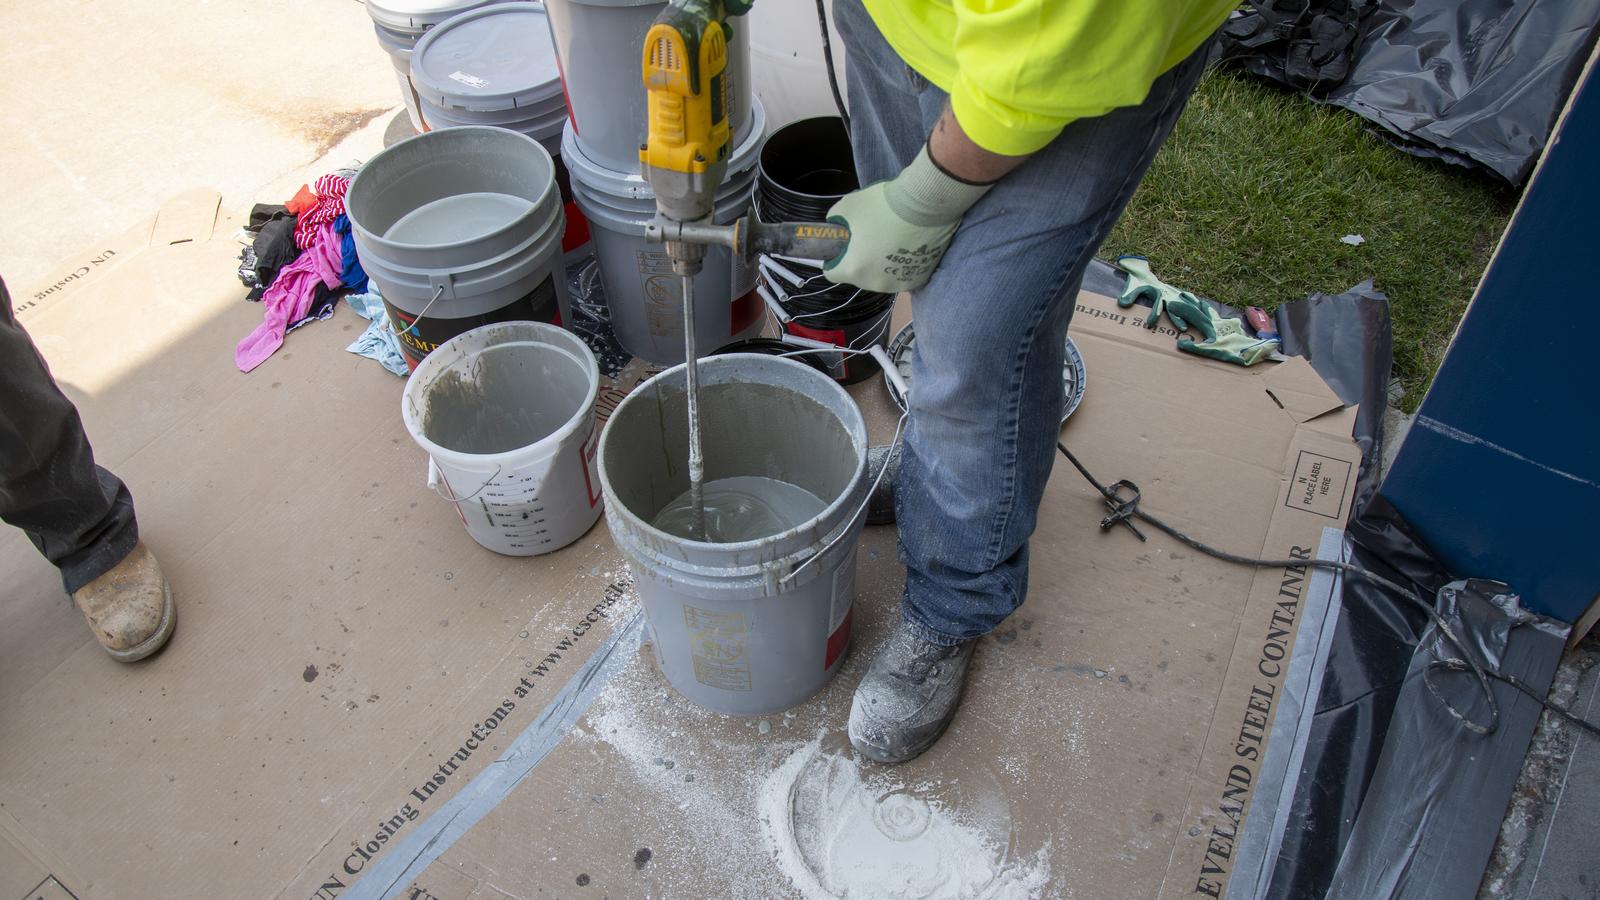
Most urethane cement floor defects begin at the mixing station, and clear mixing requirements in the specification are the most direct way to control them.
For engineers, architects and owners who specify urethane cement floors, mixing errors are one of the least visible risks to a new installation. A floor can be correctly specified, well prepared and carefully placed, yet still show defects because a batch was split, undermixed or mixed cold. This article covers the common urethane cement mixing errors, what they look like after cure and what to require in the specification, submittals and daily quality control.
What Is Urethane Cement?
Urethane cement, also called polyurethane modified concrete, is a three-component flooring material. Two liquid resin components are combined with a cementitious aggregate component to form a dense, monolithic floor topping.
It is used in food and beverage plants, commercial kitchens and pharmaceutical areas where floors see thermal shock, wash-down and chemical exposure. The proportions are fixed at the factory by kit size, and the working time after mixing is short.
Why Mixing Matters: Little Room for Correction
A thin coating that is slightly off-ratio may still cure acceptably. A urethane cement that is off-ratio or poorly blended can show soft spots, color streaks, pinholes, weak bond or a surface that does not reach its intended hardness.
By the time those defects appear, the material is in place and the usual repair is removal. That makes mixing a step to control in the specification rather than leave to field judgment.
Mix time, mixer type and speed, mix sequence and working time all come from the product data sheet and the manufacturer's application guide. These values vary by product, kit size and temperature, so they should be taken from the current documents for the product specified rather than treated as universal numbers.
Common Mixing Mistakes: What Goes Wrong in the Field
Specifiers and owners should watch for the following errors:
1. Splitting or Partially Mixing Kits
Urethane cement kits are proportioned to be mixed as complete units. Some manufacturers package larger kits so they can be divided into equal smaller units, but that is a defined procedure in the application guide.
Scooping partial amounts by eye to finish a small area changes the ratio. Soft or discolored spots are a typical result.
2. Short or Inconsistent Mix Times
When a crew is racing the working time, mixing is often the step that gets shortened. Undermixed material can leave dry aggregate or streaks of unblended resin.
Mixing at the wrong speed or with the wrong paddle can also draw air into the material, which may appear later as pinholes. The goal is a uniform material with no dry aggregate, mixed the same way batch after batch.
3. Wrong Mixing Equipment
Application guides name a specific mixer type, such as a mortar mixer or a slow-speed drill with a particular paddle. Hand mixing is generally not permitted, and a high-speed drill with a paint paddle is not an equivalent.
4. Cold or Overheated Components
Material temperature controls viscosity, flow and working time. Components stored in an unheated trailer overnight will not mix or place the same way as conditioned material.
Very warm material can lose working time quickly. The data sheet gives a storage range and a conditioning range, and substrate temperature, relative humidity and dew point matter as well.
5. Moisture Exposure and Field Additions
Some components are moisture sensitive. Open lids, mixing in the rain at a dock door and wet tools can all affect the reaction.
Adding water, solvent or extra liquid resin to make placement easier changes the formulation and is not acceptable unless the manufacturer's literature allows it. Accelerators, where offered, are separate products with their own instructions and temperature limits.
6. Mixing Faster Than the Crew Can Place
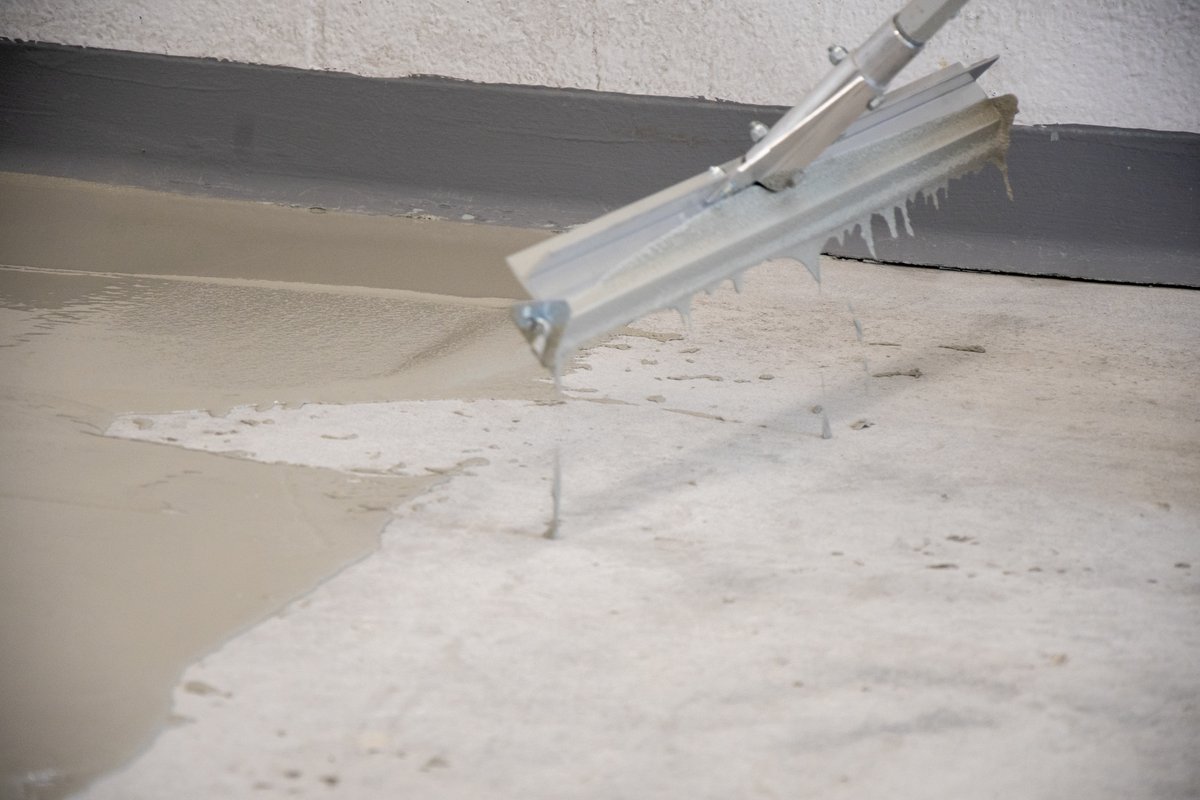
Mixed material has a limited working time. Batches mixed ahead of the placement crew, or left standing while a problem is solved elsewhere, get placed after they have started to set.
Those late batches can show trowel marks, poor leveling and weak joints where fresh material meets older material.
Specification Requirements: Closing the Common Gaps
Most of these errors are preventable with clear written requirements. Specifiers should consider including the following:
- Governing Documents: Mix and place in accordance with the manufacturer's current product data sheet and application guide, with both documents included in the submittal.
- Complete Kits: Mix complete kits only, or equal subunits only where the manufacturer's literature defines that procedure.
- Mixing Equipment: Use the mixer type, paddle and speed named by the manufacturer, with no hand mixing.
- Material Conditioning: Store and condition components within the manufacturer's temperature ranges.
- Daily Conditions: Record material, substrate and air temperatures, relative humidity and dew point before work begins each day.
- Field Additions: Permit no additions except manufacturer-supplied accelerators used within their published limits.
- Installer Qualifications: Require experience with the specific product and a manufacturer training record where available.
- Mockup: Require a test area placed with the same crew, equipment and mixing procedure planned for the work.
Sample specification language for the mixing paragraph might read: "Components shall be mixed as complete kits using the mixer and procedure stated in the manufacturer's current application guide. Partial kits shall not be used. Field additions not listed in the manufacturer's literature shall not be permitted."
Submittals and Daily QC: Making Mixing Discipline Visible
Submittals should include the product data sheet, application guide, safety data sheets, installer qualifications and a sample of the finished floor. The contractor should also describe the mixing setup, including station location, material conditioning and the number of mixers and workers supporting the planned placement rate.
Daily QC records are where mixing discipline becomes visible. A useful daily log records the following:
- Lot Numbers: The production lot of each component used that day.
- Kits Versus Area: Kits used compared with area placed, since a large gap in either direction is worth a question.
- Conditions: Material, substrate and air temperatures, relative humidity and dew point.
- Interruptions: Any stoppage that left mixed material standing.
On site, an owner's representative can watch for complete kits being emptied and scraped, the correct mixer in use and a consistent procedure. After cure, soft spots, color streaks, pinholes and uneven texture should be recorded with photos and locations.
Tnemec Urethane Cement Options: Products With Defined Procedures
Tnemec Company offers several polyurethane modified concrete products for heavy-service floors:
- Tnemec Series N241 Ultra-Tread MVT: A slurry-applied polyurethane modified concrete floor topping. applied up to 1/8"
- Tnemec Series N242 Ultra-Tread S: A slurry-applied polyurethane modified concrete floor topping applied at 1/8 - 1/4".
- Tnemec Series N244 Ultra-Tread M: A trowel-applied polyurethane modified concrete mortar for heavy-duty areas.
- Tnemec Series N243 Ultra-Tread V: A polyurethane modified concrete for vertical surfaces and cove base.
Tnemec's application guide sets the mixing equipment, sequence and working time for Series N242, Series N244 and Series N243, and that guide should govern.
Conclusion
A urethane cement floor is only as good as the batch placed at each location. In our experience, requiring complete kits, the named equipment, conditioned materials and a documented daily procedure adds little to the specification and reduces the risk of removal and replacement later.
The time to control mixing is before the first kit is opened.
Field Verification Before Specifying
The following conditions are to be confirmed in the field with the applicable test before a system is finalized:
- Concrete moisture: in-situ relative humidity per ASTM F2170 and, where the manufacturer requires it, MVER per ASTM F1869.
- Surface profile after preparation: compare to ICRI Guideline No. 310.2R CSP chips at the CSP range on the product data sheet.
- Ambient conditions each day: substrate and air temperature, relative humidity and dew point (psychrometer per ASTM E337 or calibrated electronic gauge).
- Material temperature of each component before mixing, against the data sheet conditioning range.
- Placed thickness during installation with a depth gauge, and kits used against area placed.
- Bond on the mockup or test area: pull-off adhesion per ASTM D7234 where the owner requires a measured value.
We are happy to help. Contact a High Performance Coating Consultant in your region to review your project conditions and specification.
Repairing Existing Quarry Tile Floors with...
A failing quarry tile floor is not always a...
Maintenance Guide for Metal Surfaces with...
High Performance Coatings provide excellent...
Broadcast Flake Floors: Installation Tips for a...
A consistent broadcast flake finish depends on an...