
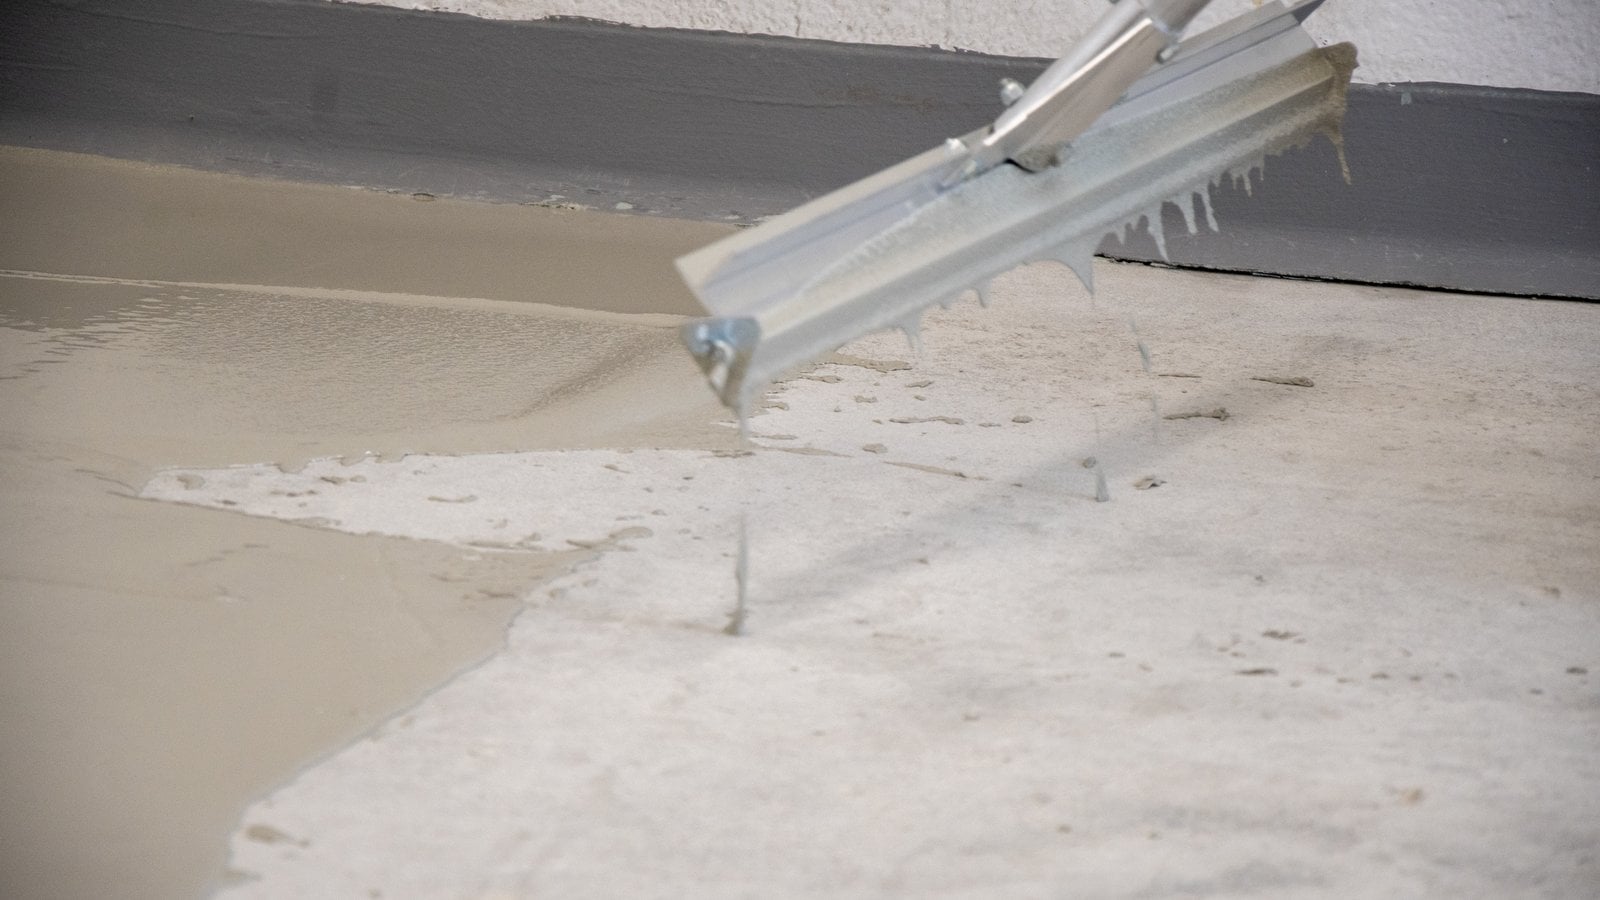
Profile, porosity and waste factor all change coverage. Practical steps to estimate resinous flooring materials accurately and protect the specified thickness.
Accurate resinous flooring quantities start with the specified thickness and adjust for the profile, porosity and waste of the actual slab.
For specifiers, owners and project managers, an inaccurate flooring material estimate is a direct risk to installed thickness. When material runs short, crews stretch what is on hand and the floor ends up thinner than specified. This article covers how coverage is calculated, how surface profile, porosity and waste change it, and what to require so quantities, thickness and the specification agree.
What Is Theoretical Coverage?
Theoretical coverage is the area a given volume of material covers at a specified thickness on a flat, nonporous surface with no loss. It is the starting point for every estimate, not the final number.
One US gallon of liquid spread one mil thick covers about 1,604 square feet. Theoretical coverage at a given thickness is that figure, multiplied by the volume solids fraction, divided by the dry thickness in mils.
Mortar and slurry products are usually listed by yield per kit at a stated thickness instead. Both values come from the current product data sheet for the exact product specified.
Specified Thickness: The Foundation of the Estimate
Every material estimate starts with the specified thickness of each layer. Coatings are usually specified in mils of dry film, while mortars and slurry toppings are specified in fractions of an inch.
Square footage is the easy part of a takeoff. Thickness is what determines how much material the floor consumes, so an estimate that does not state its thickness basis cannot be checked.
Surface Profile: Where Coverage First Departs From the Data Sheet
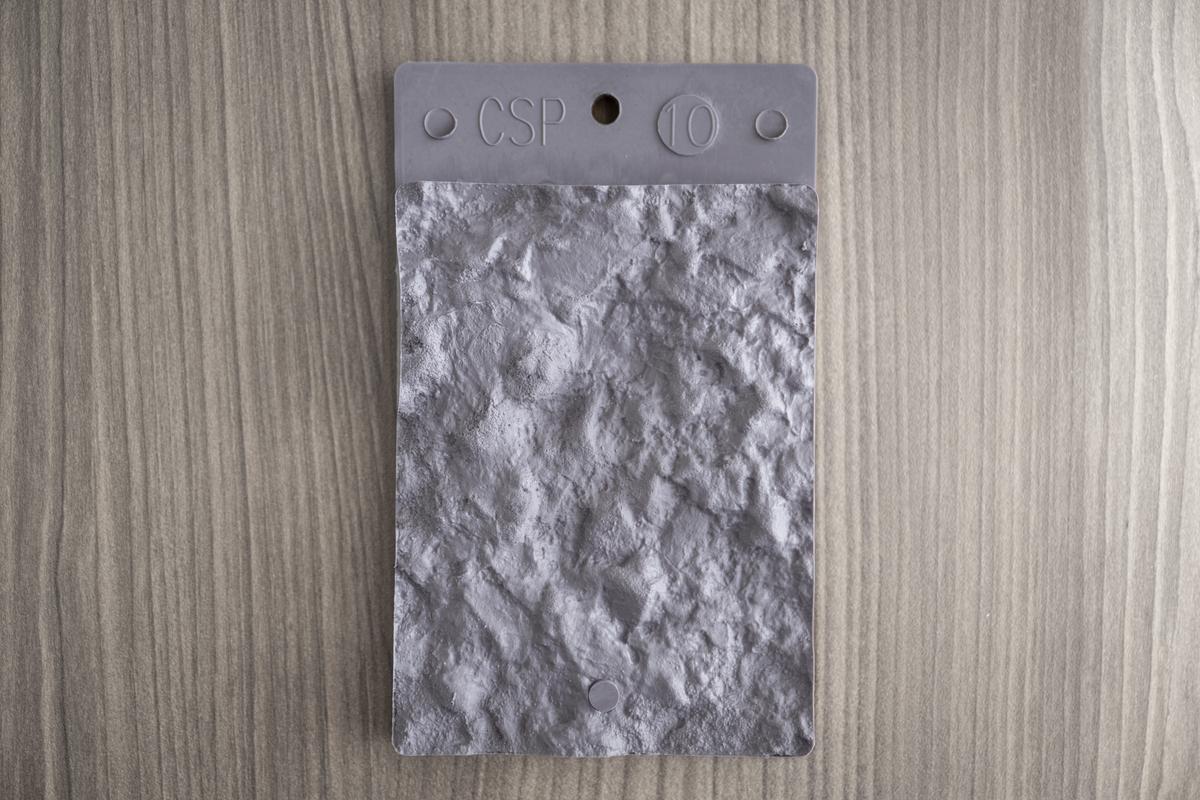
Resinous floors need a mechanical profile so the system can bond. The concrete surface profile guideline (ICRI 310.2R) describes profiles from CSP 1, the smoothest, to CSP 10, the roughest, using reference chips, and the required range comes from the manufacturer's data sheet.
A rougher profile has more surface area and deeper valleys, and the first layer fills those valleys before it builds thickness above the peaks. A thin primer or body coat over an aggressive shot-blast profile can consume noticeably more than its theoretical coverage, while a thick mortar sees a smaller percentage effect.
Profile also varies across a slab. Edges prepared with hand grinders, patched areas and joints rarely match the open floor, so the estimate should reflect the profile expected after preparation and be confirmed on a prepared test area.
Porosity: Material That Disappears Into the Slab
Concrete absorbs resin. Open or weak surface paste, previously acid-etched slabs, deeply ground surfaces, lightweight concrete and patch materials can all draw primer into the substrate.
Some manufacturers note that additional primer coats may be needed on porous substrates. That material does not show up as surface thickness, but it is consumed.
Porosity is hard to predict from drawings. A primed test area is the most reliable way to see how a particular slab behaves before the full order is placed.
Waste Factor: The Line Estimators Debate
Waste covers material that is purchased but does not end up in the floor at the specified thickness. Typical contributors include:
- Container Residue: Material left in pails, mixers and tools.
- Expired Batches: Mixed material that passes its working time before placement.
- Edges and Details: Extra material at edges, drains, trenches, cove and transitions.
- Broadcast Excess: Aggregate or flake swept up after cure.
- Layout Complexity: Small rooms and complex plans that raise the ratio of edge to open floor.
- Kit Rounding: Full-kit packaging that rounds every area up to the next complete kit.
There is no single correct waste percentage, because it depends on the system, the crew, the number of rooms and the layout. As a general estimate, a large open warehouse floor carries a smaller allowance than a building with many small restrooms, locker rooms and kitchens.
Waste should appear as its own line rather than being hidden in the coverage rate. A visible allowance is easier to review and easier to adjust when field conditions change.
Building the Estimate: A Step-by-Step Method
A defensible estimate follows a consistent sequence:
- Divide the floor into areas by system, thickness and condition: open floor, edges, ramps, trenches and drains.
- For each layer, take theoretical coverage or kit yield at the specified thickness from the current product data sheet.
- Adjust the first layers for the expected profile and porosity, using results from a prepared and primed test area where possible.
- Measure cove separately by linear foot, height and radius, and convert it to area and volume.
- Calculate broadcast aggregate or flake separately, using the manufacturer's guidance for the broadcast method specified.
- Apply a stated waste allowance and round up to complete kits.
- Order enough from one production lot where color consistency matters, so the job is not split across batches.
Owner and Specifier Requirements: Keeping Quantities Honest
Owners do not need to check the contractor's arithmetic, but a few requirements keep quantities and thickness aligned:
- Layer Thickness: Specify minimum thickness for each layer, not only a total, and state how it will be verified.
- Usage Records: Require delivery records and daily logs showing kits or units used for each area placed.
- Test Area: Require a prepared and primed test area to confirm profile, porosity and appearance before full mobilization.
- Estimate Basis: Require written confirmation that bid quantities are based on the specified thickness and the current data sheet.
- Reference Documents: Include the application guide and data sheets in the submittal so the basis of the estimate is on record.
Comparing material used to area placed is one of the simplest QC checks available. A floor that consumed far less than the theoretical quantity for the specified thickness should be investigated before the next layer goes down.
A floor that consumed far more may point to a profile or porosity condition. That condition is worth documenting before it affects the remaining areas.
Conclusion
A resinous flooring estimate is only as good as the thickness it starts from and the adjustments made for the slab that actually exists. Theoretical coverage from the data sheet, adjusted for profile and porosity on a test area, with waste carried as a visible line and quantities rounded to full kits, reduces the risk of shortages partway through installation.
In our experience, estimators who keep these steps in a simple area-by-area worksheet find it much easier to explain a quantity to an owner or to support a change order. The specified thickness is protected long before the first kit is mixed.
Field Verification Before Specifying
The following conditions are to be confirmed in the field with the applicable test before a system is finalized:
- Surface profile after preparation compared to ICRI Guideline No. 310.2R CSP chips, including edges, patches and joints.
- Substrate porosity and primer absorption on a prepared and primed test area (visual observation and material consumed per area).
- Concrete moisture: in-situ relative humidity per ASTM F2170 and, where required by the manufacturer, MVER per ASTM F1869.
- Wet film thickness of liquid coats during application per ASTM D4414.
- Mortar and slurry thickness during placement with a depth gauge, and kits used against area placed.
We are happy to help. Contact a High Performance Coating Consultant in your region to review your project conditions and specification.

High Performance Coatings in Extreme Winter...
High performance coating projects in cold states...
Hot Dipped Galvanized Steel VS Zinc Rich Primer
IF STEEL IS GOING TO BE COATED, A ZINC-RICH...
Stop Buying Floor Products. Start Specifying...
Resinous floors rarely fail inside a layer, which...